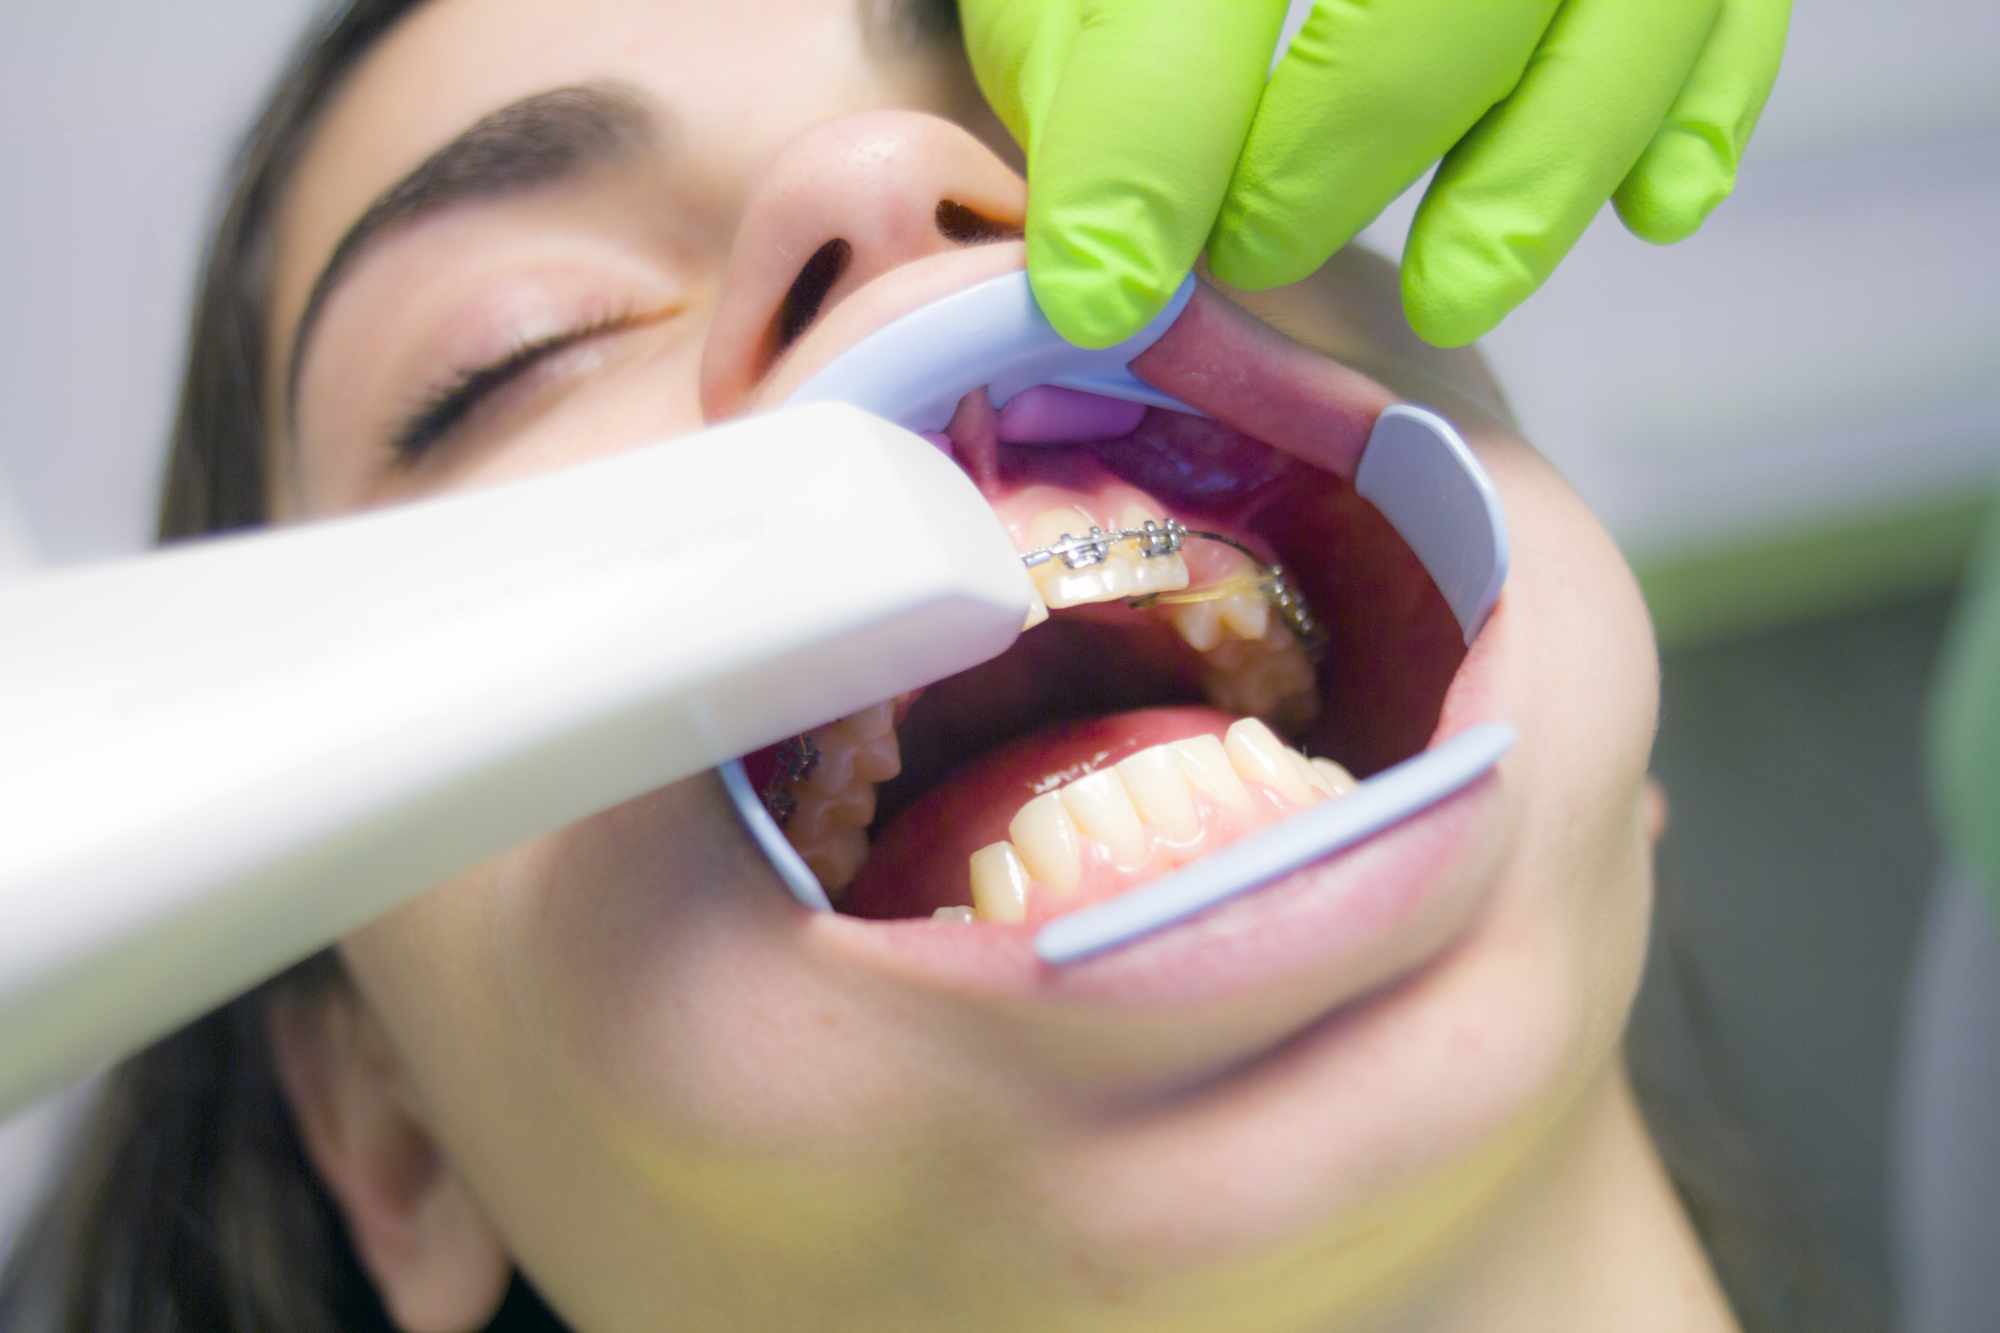
With orthodontic treatment, gaining an amazing smile is a successful treatment plan away! But if you assume orthodontics always involves wearing huge, ugly metal braces for years on end, you’ll be glad to hear those things have changed a lot over the last several years. Recent technology available at clinics like Level Orthodontics has made it so you can have less bulky, more comfortable, and more stylish braces. You’ll also be glad to hear that these modern options are much more discreet and provide better results in a shorter time than even just a few years ago such as Invisalign. Their availability has also increased now more than ever.
But what exactly is involved with orthodontic treatment? We can break down a typical program into seven stages:
1) Referral
In most cases, your regular dentist will refer you to a specialist orthodontist after recommending that braces be fitted. However, you can also refer yourself directly without consulting your dentist if you prefer. Of course, if you worry about price, you will be pleased to hear that Level Orthodontics offers a free consultation for new patients at our North Edmonton and South Edmonton locations.
2) Initial Exam
At your first meeting with your orthodontist, they will go over your medical and dental history to confirm whether orthodontics is a suitable choice for your situation. They’ll then carry out an initial exam to decide what type and level of treatment will be most appropriate and useful based on their findings.
You can have two options for braces: the classic metal braces, which is what you may first think of when hearing the word “braces”, or ceramic braces which are far less noticeable than traditional braces since they blend with your teeth. There is also Invisalign treatments, which offers a virtually invisible appearance with the same results as traditional braces. These options each come with their own benefits, so it’s best to choose which will fit you the best based on your lifestyle and needs.
Once the exam is complete, the orthodontist will explain what will be involved and one of our treatment coordinators will also discuss the necessary financial arrangement. If everything looks and sounds good to you at this point of the exam, you can then decide if you want to go ahead with the suggested treatment plan.
3) Preparation for Braces
Your orthodontist will take a 3D scan of your teeth along with a set of detailed photographs. These will be used to design and fine-tune the braces to correct the positions and alignment of your teeth. They will also be referred to at the end of treatment to confirm its success. For Invisalign, you will be given an appointment date to come in and have your teeth be 3D scanned in order to get the correct measurements for your aligners.
4) Fitting the Braces
The braces’ bands and brackets will now be fitted in their initial positions. If you’re using the Invisalign option, the first aligner will be placed at this stage. For both options, you’ll also be given advice on how to care for your braces or Invisalign and told of any dietary or lifestyle adjustments that are recommended while undergoing the treatment.
5) Checkups and Adjustments
Every six to eight weeks you’ll return to our office to have your braces or Invisalign checked. If everything is going to plan, your orthodontist will make any necessary adjustments to your treatment to move it forward. It’s best to make sure that your orthodontist is thorough and understanding of any concerns you may have regarding the treatment duration and its effects and is easy to reach in case of any mishaps that would require a quick fix.
6) Removing the Braces and Fitting Retainers
After the required treatment time, which is usually between one to two years, braces or Invisalign will be removed and your teeth thoroughly cleaned. Next, a set of custom-made clear plastic retainers will be fitted to keep your teeth in their new positions.
7) Retainer Checkups
Your orthodontist will advise on which retainer to wear at the end of your orthodontic journey. All that’s left to do is to make sure that the retainers will need to be checked periodically to ensure they’re working as expected. After around six months, your orthodontist may decide that you can stop wearing the retainers all the time, only using them when sleeping.
Last Thoughts on Effective Orthodontic Treatment
When these seven steps are completed, your treatment program is finished. Your smile will now be permanently improved, with only regular dental check-ups needed to check for any future problems.
